In Episode 1, we learned what Docker is and why containerization matters. Now it’s time to stop talking and start doing. By the end of this post, you’ll have Docker installed on your machine and a real container running in under 10 minutes. Let’s go.
What We’ll Cover in This Episode
- Installing Docker Desktop on Mac, Windows, or Linux
- Verifying your installation
- Understanding the
docker runcommand - Pulling your first image from Docker Hub
- Running and stopping your first container
- A quick look at useful beginner commands
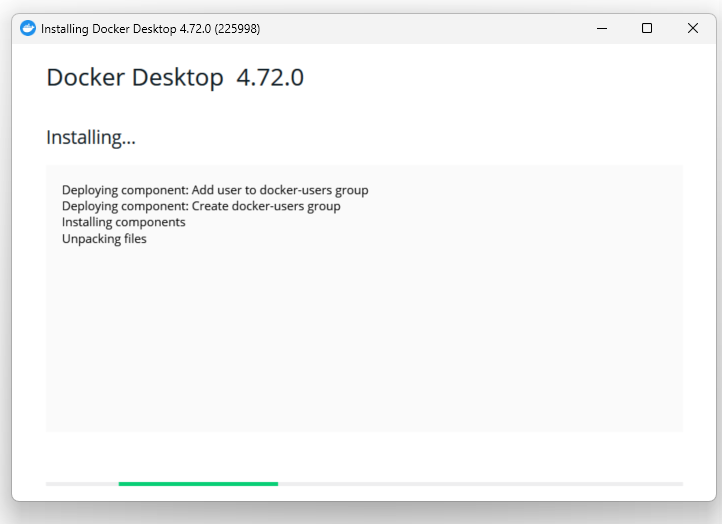
Step 1: Install Docker Desktop
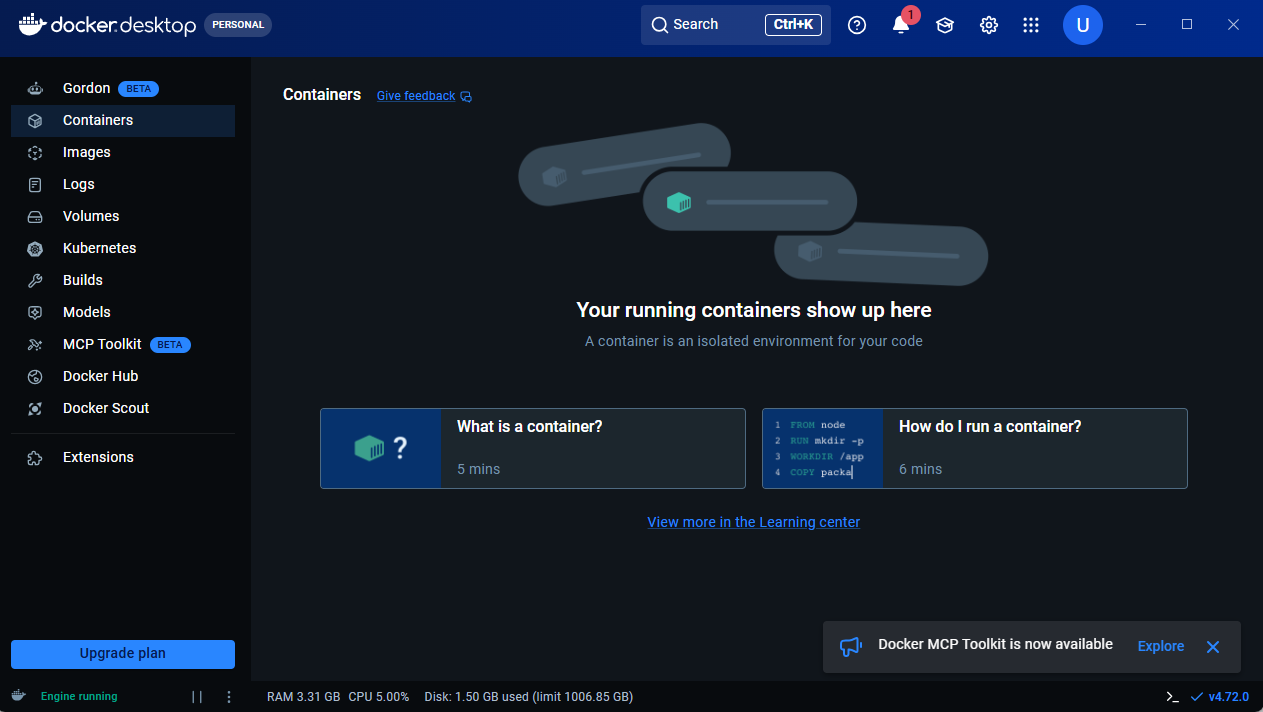
Docker Desktop is the easiest way to get started. It gives you Docker Engine, a visual dashboard, and everything you need in one installer.
On Mac
- Visit https://www.docker.com/products/docker-desktop
- Click Download for Mac — choose Apple Silicon (M1/M2/M3) or Intel depending on your chip
- Open the downloaded
.dmgfile and drag Docker to your Applications folder - Launch Docker from Applications and follow the setup prompts
- Docker will ask for your system password.
On Windows
- Visit https://www.docker.com/products/docker-desktop
- Click Download for Windows
- Run the installer — make sure “Use WSL 2 instead of Hyper-V” is checked (recommended)
- Restart your computer when prompted
- Launch Docker Desktop from the Start menu
- Log in using email/GitHub
Windows users: Docker on Windows requires WSL 2 (Windows Subsystem for Linux). If you don’t have it, the Docker installer will guide you through setting it up. It only takes a few minutes.
On Linux (Ubuntu)
Open your terminal and run these commands one by one:
sudo apt-get update
sudo apt-get install ca-certificates curl gnupg
curl -fsSL https://download.docker.com/linux/ubuntu/gpg | sudo gpg --dearmor -o /usr/share/keyrings/docker-archive-keyring.gpg
sudo apt-get install docker-ce docker-ce-cli containerd.io docker-buildx-plugin docker-compose-plugin
Then add your user to the Docker group so you don’t need sudo every time:
sudo usermod -aG docker $USER
newgrp docker
For other Linux distros, check the official Docker documentation.
After installing Docker Desktop, you need to log in using your email/github.
Step 2: Verify Your Installation
Once Docker is installed and running, open your terminal (or Command Prompt on Windows) and run:
docker --versionYou should see something like:
Docker version 26.1.0, build a5ee5b1Next, check that Docker Engine is running properly:
docker infoThis prints a detailed summary of your Docker setup. If you see information about containers, images, and your OS — you’re good to go.
Step 3: Run the “Hello World” Container
The Docker tradition is to start with the official Hello World image. Run this command:
docker run hello-world
Here’s what happens behind the scenes when you press Enter:
- Docker looks for an image called
hello-worldon your local machine - It doesn’t find one, so it automatically pulls it from Docker Hub
- Docker creates a container from that image and runs it
- The container prints a confirmation message and exits
You’ll see output that includes:
Hello from Docker!
This message shows that your installation appears to be working correctly.
Congratulations — you just ran your first container.
Step 4: Run a Real Web Server Container
Hello World is fun, but let’s run something more meaningful. We’ll run Nginx — a real, production-grade web server — inside a Docker container.
docker run -d -p 8080:80 --name my-webserver nginxLet’s break down what each part of this command does:
docker run— create and start a container-d— run in detached mode (in the background, so your terminal stays free)-p 8080:80— map port 8080 on your machine to port 80 inside the container--name my-webserver— give the container a friendly namenginx— the image to use (pulled from Docker Hub automatically)
Now open your browser and go to:
http://localhost:8080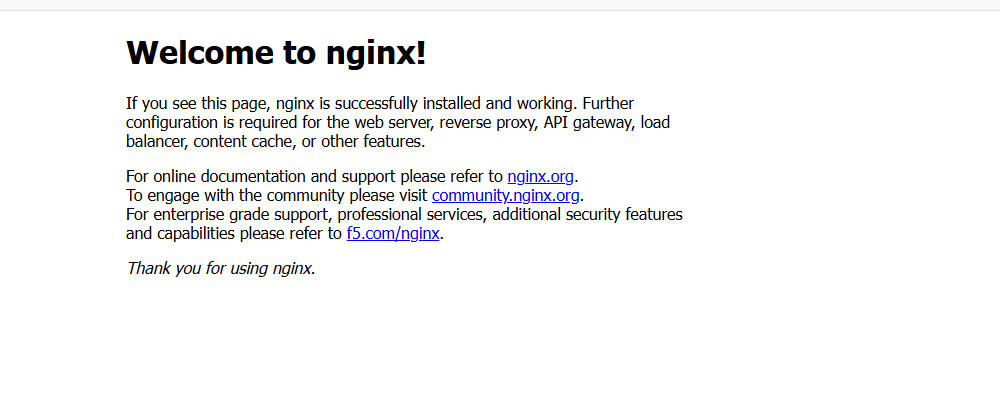
You should see the Nginx welcome page. You’re running a web server inside a Docker container — with a single command.
Step 5: Explore Your Running Container
Let’s look at what’s running. In your terminal:
docker psThis lists all currently running containers. You’ll see something like:
CONTAINER ID   IMAGE   COMMAND   CREATED       STATUS       PORTS                  NAMES
a3f2c1d9e8b7   nginx   "..."     2 minutes ago Up 2 minutes 0.0.0.0:8080->80/tcp   my-webserver
You can also “go inside” the container and explore it like a mini Linux system:
docker exec -it my-webserver bashNow you’re inside the container’s shell. Type ls to look around, then type exit to come back out.
Step 6: Stop and Remove the Container
When you’re done, stop the container:
docker stop my-webserverAnd if you want to remove it entirely:
docker rm my-webserverStopping a container doesn’t delete it — it just pauses it. Removing it cleans it up completely. The image (nginx) stays on your machine so you can spin up a new container from it instantly next time.
Essential Beginner Commands Cheat Sheet
Here are the most important Docker commands you’ll use constantly as a beginner:
| Command | What it does |
|---|---|
docker run <image> | Pull (if needed) and run a container |
docker ps | List running containers |
docker ps -a | List all containers, including stopped ones |
docker stop <name> | Stop a running container |
docker rm <name> | Remove a stopped container |
docker images | List all images on your machine |
docker pull <image> | Download an image without running it |
docker rmi <image> | Remove an image from your machine |
docker logs <name> | View a container’s output logs |
docker exec -it <name> bash | Open a shell inside a running container |
Understanding What Just Happened
Let’s zoom out for a second. In this episode you:
- Installed Docker Desktop — the runtime that makes everything work
- Verified it with
docker --versionanddocker info - Ran
hello-world— Docker pulled the image and ran the container automatically - Launched a real Nginx web server on your machine with one command
- Explored a live container from the inside using
docker exec - Learned how to cleanly stop and remove containers
The key insight here is how little effort it took. No installation of Nginx, no configuration files, no dependency management. Docker handled all of it.
Common Beginner Errors & How to Fix Them
“Cannot connect to the Docker daemon” Docker Desktop isn’t running. Open it from your Applications or Start menu and wait for the whale icon to stop animating.
“Port is already allocated” Another process is using port 8080. Change the host port: use -p 9090:80 instead and visit localhost:9090.
“Permission denied” (Linux) You haven’t added your user to the Docker group yet. Run sudo usermod -aG docker $USER then log out and back in.
“Image not found” Check the spelling of the image name. Docker image names are case-sensitive. Visit hub.docker.com to search for the correct name.
What’s Next?
You now have Docker installed and you’ve run real containers. But so far we’ve only used images that other people built. In Episode 3, we’ll go deeper into how Docker images actually work — layers, base images, and how to find exactly the right image for your project.
One thought on “Episode 02 – Installing Docker & Running Your First Container”