In Episode 5, we learned how containers communicate with each other and with the outside world through networks and port binding. Now there’s another fundamental problem to solve — one that catches almost every Docker beginner off guard.
What happens to your data when a container stops?
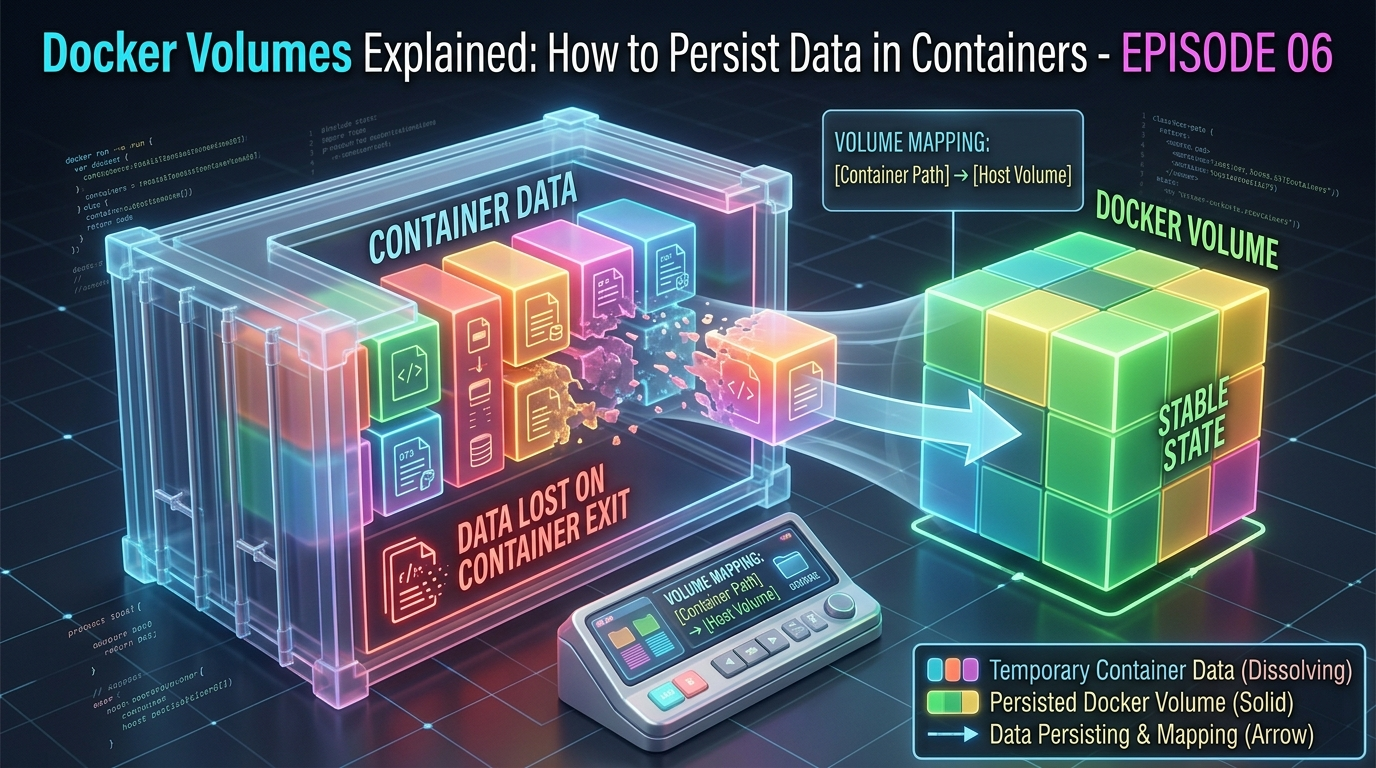
The answer, by default, is simple and alarming: it disappears. Every file created, every database record written, every log generated inside a container is gone the moment that container is removed.
For a stateless web server that just serves files, that’s fine. But for a database, an uploaded file store, or any application that generates data users care about — it’s a serious problem.
This episode is all about solving that problem with Docker Volumes.
Why Container Data is Temporary by Default
To understand why data disappears, we need to revisit how Docker images and containers work.
Remember from Episode 3 that Docker images are made of read-only layers. When you run a container, Docker adds a thin writable layer on top of those read-only layers. This is where everything the container writes — files, logs, database records — gets stored.
The critical detail: that writable layer belongs to the container. When the container is removed with docker rm, the writable layer is deleted along with it. The image underneath is untouched and ready to spawn new containers — but all the data that container wrote is gone forever.
This design is intentional. It keeps containers lightweight, stateless, and reproducible. But it means you need an explicit strategy for any data you want to keep.
That strategy is volumes.
What Is a Docker Volume?
A Docker volume is a storage location that exists outside the container’s writable layer — managed by Docker, stored on your host machine’s file system, and designed to outlive any individual container.
When a container writes to a volume, it’s writing directly to your host machine’s disk — not to the container’s temporary writable layer. The container can be stopped, removed, and recreated, and the data in the volume remains completely intact.
Think of it this way:
- The container is a rented apartment — temporary, you might move out any time
- The volume is a storage unit you own — it stays yours regardless of which apartment you’re in
The Three Ways to Handle Persistent Data
Docker gives you three mechanisms for managing data. Each has a different use case:
1. Docker Volumes (recommended)
Fully managed by Docker. Stored in a Docker-controlled area of your host file system (/var/lib/docker/volumes/ on Linux). The best choice for most use cases – especially databases and application data.
2. Bind Mounts
You choose exactly which folder on your host machine gets mounted into the container. The container and your host share that folder in real time. The best choice for development – especially when you want live code reloading.
3. tmpfs Mounts
Data is stored in the host machine’s memory only — never written to disk. Disappears when the container stops. Best for sensitive temporary data like secrets or session tokens.
We’ll focus on volumes and bind mounts since those are what you’ll use day to day.
Working with Docker Volumes
Creating a volume
docker volume create my-dataListing all volumes
docker volume lsOutput:
DRIVER    VOLUME NAME
local     my-data
Inspecting a volume
docker volume inspect my-dataThis shows you the volume’s full details including where Docker is actually storing the data on your host machine:
[
  {
    "Name": "my-data",
    "Driver": "local",
    "Mountpoint": "/var/lib/docker/volumes/my-data/_data",
    "Scope": "local"
  }
]
Mounting a volume when running a container
Use the -v flag or the newer --mount flag:
docker run -d --name my-database -v my-data:/var/lib/postgresql/data postgres:16-alpineBreaking this down:
-v my-data:/var/lib/postgresql/data— mount the volumemy-datato the path/var/lib/postgresql/datainside the container- PostgreSQL stores all its database files at that path — so now they’re stored in the volume instead of the container’s writable layer
The --mount syntax is more explicit and easier to read:
docker run -d --name my-database --mount type=volume,source=my-data,target=/var/lib/postgresql/data postgres:16-alpineBoth do the same thing. The --mount flag is preferred for clarity in production scripts.
Proving That Volumes Persist Data
Let’s prove this works with a hands-on example.
Step 1: Run a PostgreSQL container with a volume
docker run -d --name test-db -v pgdata:/var/lib/postgresql/data -e POSTGRES_USER=admin -e POSTGRES_PASSWORD=secret -e POSTGRES_DB=testdb postgres:16-alpineStep 2: Create a table and insert some data
docker exec -it test-db psql -U admin -d testdbInside the PostgreSQL shell:
CREATE TABLE users (id SERIAL PRIMARY KEY, name VARCHAR(100)); INSERT INTO users (name) VALUES ('Alice'), ('Bob'), ('Charlie'); SELECT * FROM users;You’ll see your three users listed. Now exit:
\qStep 3: Destroy the container completely
docker stop test-db
docker rm test-db
The container is gone. By default thinking, so is the data. But the volume pgdata still exists:
docker volume lsStep 4: Create a brand new container using the same volume
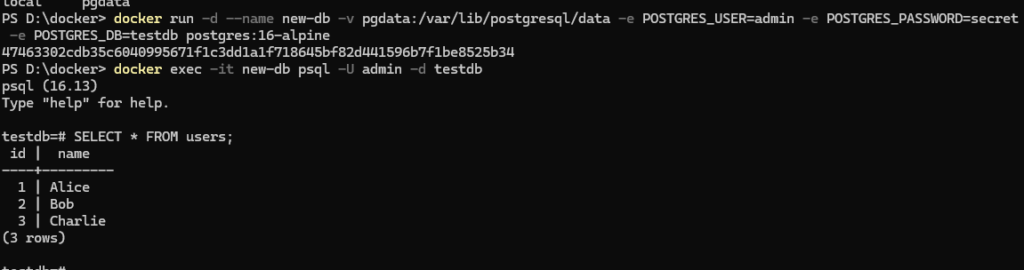
docker run -d --name new-db -v pgdata:/var/lib/postgresql/data -e POSTGRES_USER=admin -e POSTGRES_PASSWORD=secret -e POSTGRES_DB=testdb postgres:16-alpineStep 5: Check if the data survived
docker exec -it new-db psql -U admin -d testdbSELECT * FROM users;Output:
 id |  name
----+---------
  1 | Alice
  2 | Bob
  3 | Charlie
Alice, Bob, and Charlie are all still there — inside a completely new container. The volume preserved everything perfectly.
Bind Mounts: Sharing Your Local Files with a Container
While volumes are ideal for databases and persistent application data, bind mounts are the go-to choice during development. They let you mount a specific folder from your machine directly into a container — and any changes are reflected instantly in both directions.
Basic syntax
docker run -d --name my-app -p 3000:3000 -v /path/to/your/code:/app my-docker-app:1.0Or using --mount:
docker run -d --name my-app -p 3000:3000 --mount type=bind,source=/path/to/your/code,target=/app my-docker-app:1.0The development superpower
With a bind mount, you can edit your source code on your local machine in your favourite editor — and the changes appear inside the running container instantly. No need to rebuild the image every time you make a change.
Here’s how a typical development workflow looks:
docker run -d --name dev-server -p 3000:3000 -v $(pwd):/app -w /app node:20-alpine node app.js$(pwd)— automatically uses your current directory as the source-w /app— sets the working directory inside the container- Any change you make to files in your current folder is instantly visible inside the container
This is how most developers use Docker locally = the container provides the consistent environment, the bind mount provides the live editing experience.
Volumes vs. Bind Mounts: Which to Use When
| Docker Volume | Bind Mount | |
|---|---|---|
| Managed by | Docker | You (host file system) |
| Storage location | Docker controlled (/var/lib/docker/volumes/) | Anywhere you choose |
| Best for | Databases, persistent app data | Local development, live code reloading |
| Portability | High – works the same everywhere | Lower – depends on host path existing |
| Performance | Optimized by Docker | Slightly slower on Mac/Windows |
| Backup | Via docker volume commands | Standard file system tools |
| Use in production | Yes – strongly recommended | Generally avoid |
The rule of thumb is simple: use volumes for data your app generates, use bind mounts for code you’re actively editing.
Backing Up and Restoring Volume Data
Volumes are managed by Docker, so they don’t sit in an obvious folder you can just copy. Here’s the standard way to back them up.
Backing up a volume
Run a temporary container that mounts the volume and archives its contents to your current directory:
docker run --rm -v my-data:/source -v $(pwd):/backup alpine tar czf /backup/my-data-backup.tar.gz -C /source .This creates a my-data-backup.tar.gz file in your current directory containing everything in the volume.
Restoring from a backup
docker run --rm -v my-data:/target -v $(pwd):/backup alpine tar xzf /backup/my-data-backup.tar.gz -C /targetRemoving Volumes
Remove a specific volume:
docker volume rm my-dataNote: you cannot remove a volume that is currently in use by a container — stop and remove the container first.
Remove all unused volumes at once:
docker volume pruneThis is useful for cleaning up volumes from old containers you’ve already deleted. Be careful, this cannot be undone.
Anonymous Volumes
When you don’t give a volume a name, Docker creates an anonymous volume — one with a long random ID instead of a human-readable name:
docker run -d -v /var/lib/postgresql/data postgres:16-alpineAnonymous volumes work fine but are hard to manage because their random IDs make them difficult to identify. Always name your volumes explicitly:
docker run -d -v pgdata:/var/lib/postgresql/data postgres:16-alpineQuick Reference: Volume Commands
| Command | What it does |
|---|---|
docker volume create <name> | Create a named volume |
docker volume ls | List all volumes |
docker volume inspect <name> | View volume details and mount path |
docker volume rm <name> | Remove a specific volume |
docker volume prune | Remove all unused volumes |
docker run -v name:/path | Mount a named volume into a container |
docker run -v /host/path:/container/path | Bind mount a host directory |
docker run --mount type=volume,... | Mount using explicit syntax |
docker run --mount type=bind,... | Bind mount using explicit syntax |
What You’ve Learned in This Episode
Here’s a summary of the key ideas from this episode:
- Container data is temporary by default = removed when the container is deleted
- Docker volumes store data outside the container, managed by Docker, and persist indefinitely
- Bind mounts share a folder from your host machine into a container – ideal for development
- tmpfs mounts store data in memory only – for sensitive temporary data
- You can prove persistence by destroying a container and recreating it with the same volume — all data survives
- Always use named volumes over anonymous ones for easier management
- Use volumes for production databases; use bind mounts for local development workflows
What’s Next?
You can now run containers, connect them over networks, and keep their data safe with volumes. These are the three pillars of working with Docker day to day.
But what about running an entire application stack — a web server, a database, and a cache — all together? Right now, you’d have to run three separate docker run commands, manually create networks, and wire everything up yourself.
In Episode 7, we’ll introduce Docker Compose — a tool that lets you define your entire multi-container application in a single file and bring it all up with one command.
→ Continue to Episode 7: Docker Compose & Multi-Container Apps