
Before you can start building websites, you need to set up your development environment with the right tools. In this comprehensive guide, we’ll walk you through installing and configuring a code editor, mastering browser developer tools, learning terminal basics, and creating your first web project.
A well-configured development environment will make you more productive, help you write better code, and provide powerful debugging capabilities. Let’s get started!
What is a Development Environment?
A development environment is the collection of tools, software, and configurations that developers use to write, test, and debug code. Unlike production environments, where users access your finished website, your development environment is your personal workspace for building applications.
Essential Components:
- Code editor or IDE
- Web browser with developer tools
- Terminal/command line interface
- Version control system (covered in a later lesson)
- Local development server (we’ll set this up later)
Choosing and Installing a Code Editor
A code editor is where you’ll spend most of your time as a web developer. While simple text editors like Notepad work, modern code editors offer features that dramatically improve productivity.
Recommended Code Editors
Visual Studio Code (VS Code) – Recommended for Beginners
Why VS Code?
- Free and open-source
- Excellent extensions ecosystem
- Built-in terminal
- IntelliSense (intelligent code completion)
- Git integration
- Cross-platform (Windows, macOS, Linux)
- Large community and extensive documentation
Installation:
- Visit code.visualstudio.com
- Download the installer for your operating system
- Run the installer and follow the prompts
- Launch VS Code
Alternative Code Editors
Sublime Text
- Fast and lightweight
- Minimal interface
- Great for less powerful machines
- Free trial, $99 license
Atom (Note: discontinued but still usable)
- GitHub’s code editor
- Similar to VS Code
- Highly customizable
WebStorm (JetBrains)
- Professional IDE for JavaScript
- Advanced features for large projects
- Free for students
- Paid license for professionals
For this course, we’ll use Visual Studio Code due to its popularity, features, and beginner-friendly interface. But if you prefer to use any other code editor, no problem at all. You can just continue with your favourite editor.
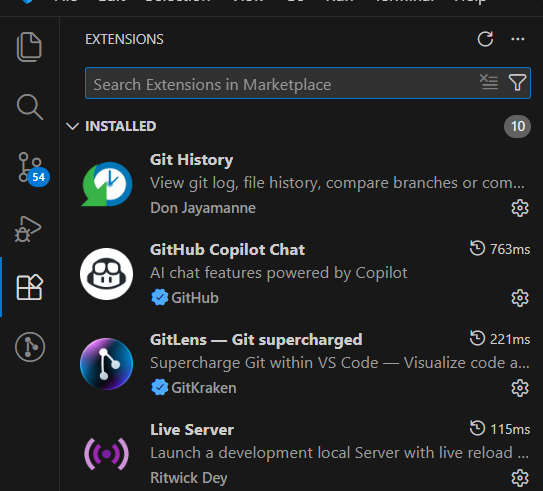
Essential VS Code Extensions
Numerous extensions can be used with VS Code, and you can explore them in the extensions tab in the sidebar. Extensions add powerful features to VS Code. Here are the must-have extensions for web development:
Installing Extensions:
- Click the Extensions icon in the sidebar (or
Ctrl+Shift+X/Cmd+Shift+X) - Search for the extension name
- Click “Install”
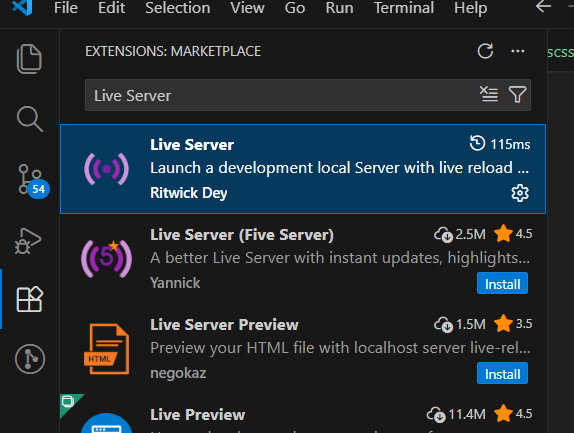
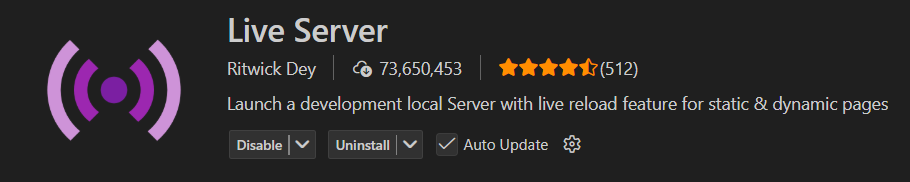
1. Live Server
- Launch a local development server with live reload
- Changes appear instantly in the browser
- Essential for testing HTML/CSS/JavaScript
Installation: Search for “Live Server” by Ritwick Dey
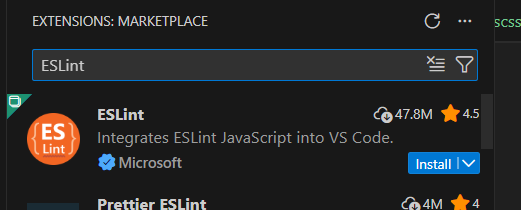
2. ESLint
- Identifies problematic patterns in JavaScript
- Enforces code quality standards
VS Code Keyboard Shortcuts
Learning keyboard shortcuts will significantly speed up your workflow:
Essential Shortcuts:
| Action | Windows/Linux | macOS |
|---|---|---|
| Command Palette | Ctrl+Shift+P | Cmd+Shift+P |
| Quick Open File | Ctrl+P | Cmd+P |
| Save File | Ctrl+S | Cmd+S |
| Save All | Ctrl+K S | Cmd+Option+S |
| Close Current Tab | Ctrl+W | Cmd+W |
| Toggle Terminal | Ctrl+ ` | Cmd+ ` |
| New File | Ctrl+N | Cmd+N |
| Find | Ctrl+F | Cmd+F |
| Replace | Ctrl+H | Cmd+Option+F |
| Comment Line | Ctrl+/ | Cmd+/ |
| Duplicate Line | Shift+Alt+Down | Shift+Option+Down |
| Move Line Up/Down | Alt+Up/Down | Option+Up/Down |
| Delete Line | Ctrl+Shift+K | Cmd+Shift+K |
| Multi-cursor | Ctrl+Alt+Up/Down | Cmd+Option+Up/Down |
| Format Document | Shift+Alt+F | Shift+Option+F |
Practice these shortcuts as you work — they’ll become second nature!
Browser Developer Tools
Browser Developer Tools (DevTools) are built into modern browsers and are essential for debugging, testing, and understanding web pages. Before publishing, you must test your web application across multiple browsers to ensure consistent behavior and compatibility.
Choosing a Browser for Development
Google Chrome (Recommended)
- Most widely used
- Excellent DevTools
- Great documentation
- Regular updates
Mozilla Firefox
- Excellent CSS debugging tools
- Privacy-focused
- Great for testing cross-browser compatibility
Microsoft Edge (Chromium-based)
- Similar to Chrome
- Built into Windows
- Good performance
Safari (macOS only)
- Essential for testing on Apple devices
- Good mobile simulator
For this course, we’ll use Google Chrome due to its popularity and powerful DevTools.
Installing Google Chrome
- Visit google.com/chrome
- Download and install Chrome
- Set it as your default browser (completely optional)
Opening Chrome DevTools
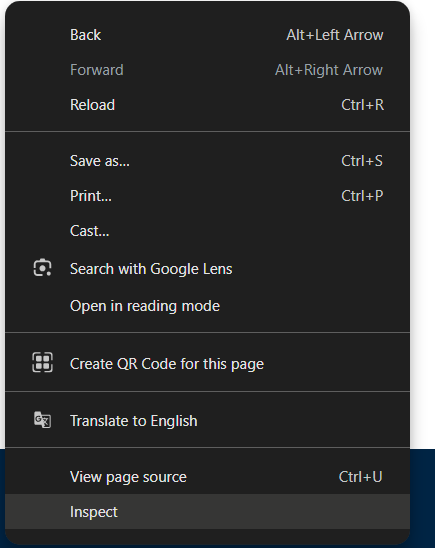
Three Ways to Open DevTools:
- Right-click on any webpage element → “Inspect”
- Press
F12(Windows/Linux) orCmd+Option+I(macOS) - Menu:
⋮ (three dots)→More Tools→Developer Tools
Chrome DevTools Overview
DevTools has several panels, each serving different purposes:

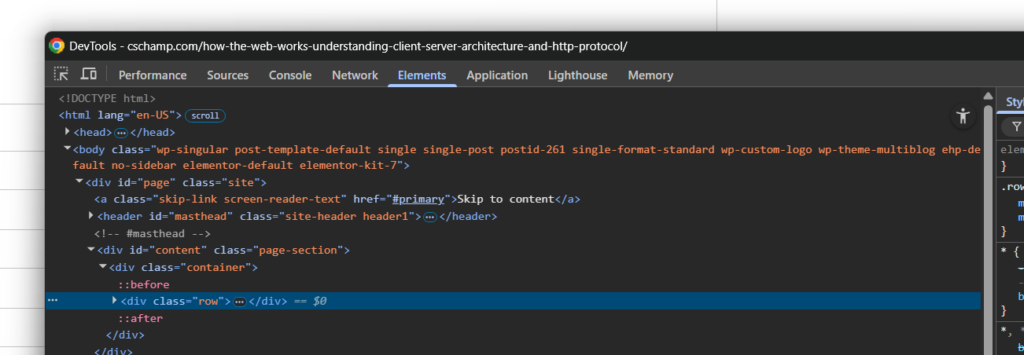
1. Elements Panel
What it does: Inspect and modify HTML/CSS in real-time
Key Features:
- View the DOM (Document Object Model) tree
- Select elements by clicking the selector icon
- Edit HTML directly
- View and modify CSS styles
- See computed styles (final applied styles)
- Experiment with CSS changes live
How to use:
- Click the selector icon (top-left)
- Hover over page elements to highlight them
- Click an element to inspect its HTML/CSS
- Modify styles in the Styles pane
- Changes are temporary (refresh to reset)
Practical Exercise:
- Open any website
- Right-click a heading and select “Inspect”
- In the Styles pane, change the color property
- See the change instantly on the page
2. Console Panel
What it does: Execute JavaScript, view errors and logs
Key Features:
- See JavaScript errors
- Run JavaScript code directly
- View console.log() output
- Test code snippets
Basic Console Commands:
javascript
// Try these in the console
console.log("Hello, World!");
2 + 2
document.title
alert("This is an alert!");
Practical Exercise:
- Open the Console panel
- Type
document.titleand press Enter - Type
console.log("I'm learning web development!") - See the output appear in the console

3. Sources Panel
What it does: Debug JavaScript code
Key Features:
- View all loaded files
- Set breakpoints for debugging
- Step through code execution
- Watch variable values
We’ll explore this more when we learn JavaScript.
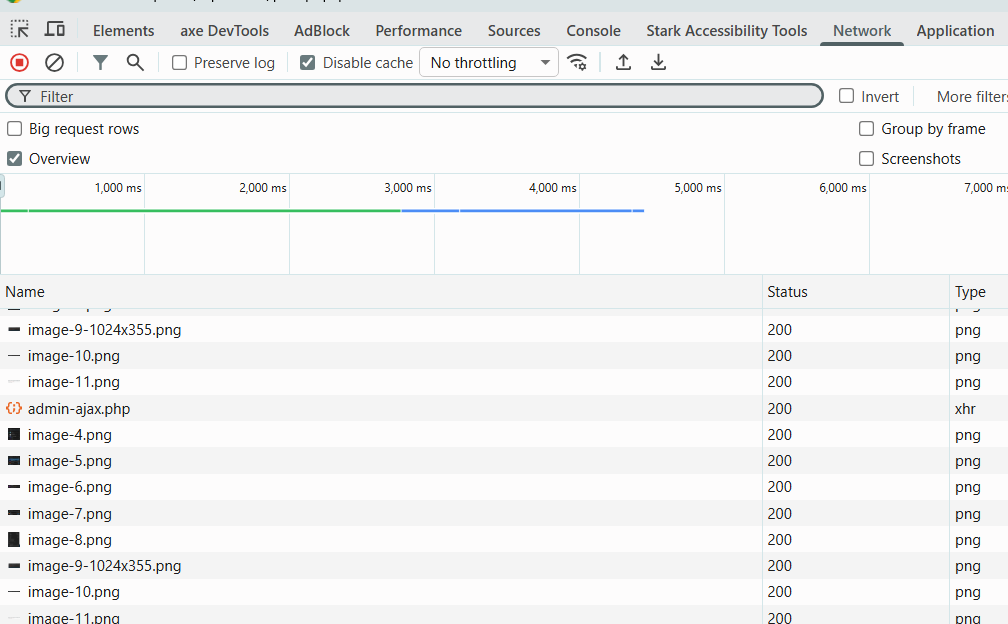
4. Network Panel
What it does: Monitor all network requests
Key Features:
- See all HTTP requests
- View request/response headers
- Check loading times
- Identify slow resources
- Filter by resource type
Practical Exercise:
- Open the Network panel
- Refresh the page (F5)
- Watch all requests load
- Click on any request to see details
- Look at the Headers, Preview, and Response tabs
5. Application Panel
What it does: Inspect storage, caches, and PWA features
Key Features:
- View localStorage and sessionStorage
- Inspect cookies
- Examine service workers (for PWAs)
We’ll use this more as we progress through the course.
6. Performance Panel
What it does: Analyze runtime performance
Used for optimizing website speed — we’ll cover this in advanced lessons.
7. Lighthouse Panel
What it does: Audit website performance, accessibility, SEO
Great for improving website quality.
Essential DevTools Shortcuts
| Action | Windows/Linux | macOS |
|---|---|---|
| Open DevTools | F12 | Cmd+Option+I |
| Inspect Element | Ctrl+Shift+C | Cmd+Shift+C |
| Console | Ctrl+Shift+J | Cmd+Option+J |
| Toggle Device Mode | Ctrl+Shift+M | Cmd+Shift+M |
| Hard Refresh | Ctrl+Shift+R | Cmd+Shift+R |
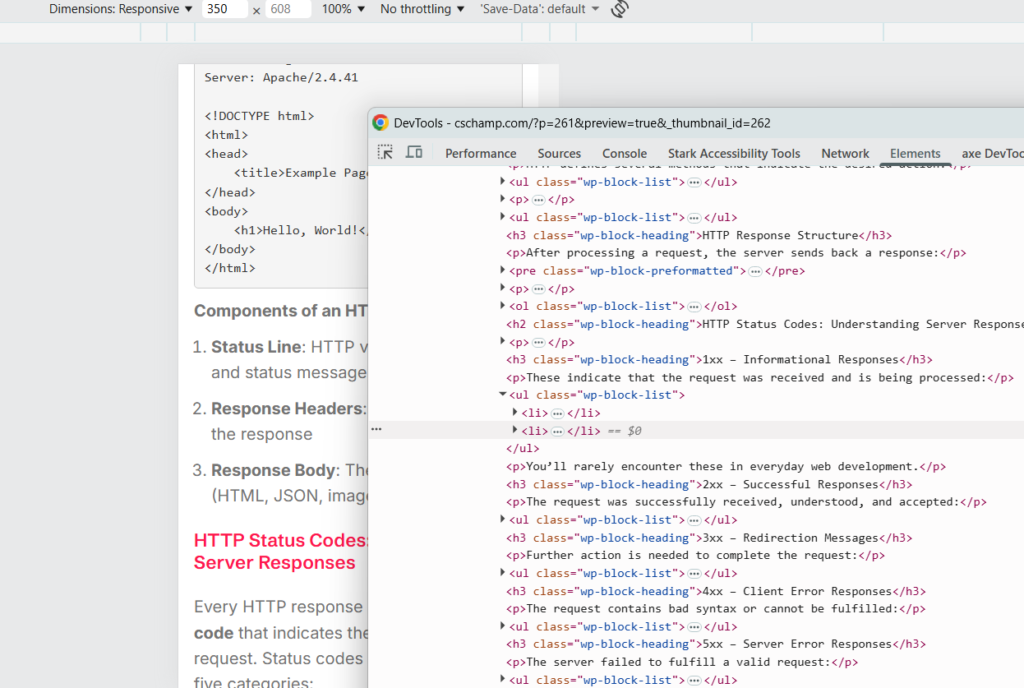
Device Mode: Testing Responsive Design
Device Mode lets you test how your website looks on different screen sizes.
Activating Device Mode:
- Open DevTools
- Click the device icon (top-left) or press
Ctrl+Shift+M/Cmd+Shift+M - Choose a device from the dropdown or set custom dimensions
- Test your responsive design
Features:
- Simulate different devices (iPhone, iPad, Android)
- Rotate device orientation
- Throttle network speed
- Test touch events
Terminal Basics for Web Developers
The terminal (also called command line, console, or shell) is a text-based interface for interacting with your computer. While it might seem intimidating at first, learning terminal basics is essential for modern web development.
What is the Terminal?
The terminal allows you to:
- Navigate through folders
- Create and delete files
- Run development tools
- Install packages and dependencies
- Use version control (Git)
- Start development servers
Accessing the Terminal
Windows:
- Command Prompt: Press
Win+R, typecmd, press Enter - PowerShell: Press
Win+X, select “PowerShell” (recommended) - Git Bash: Comes with Git installation (most similar to Mac/Linux)
- VS Code Terminal: Press
Ctrl+` inside VS Code
macOS:
- Terminal:
Cmd+Space, type “Terminal”, press Enter - VS Code Terminal: Press
Cmd+` inside VS Code
Linux:
- Terminal: Usually
Ctrl+Alt+T - VS Code Terminal: Press
Ctrl+` inside VS Code
For this course, we recommend using the integrated terminal in VS Code for convenience.
Essential Terminal Commands
Here are the fundamental commands every web developer should know:
Navigation Commands
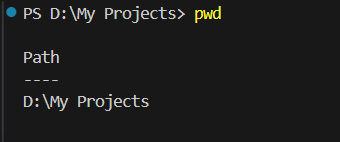
pwd (Print Working Directory) Shows your current location:’
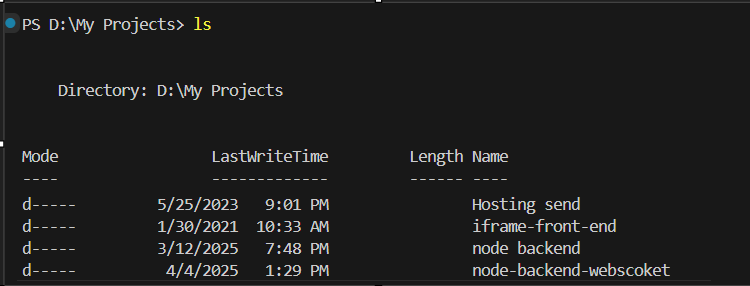
ls (List) – macOS/Linux or dir – Windows Lists files and folders in the current directory:
cd (Change Directory) Navigate to different folders:
cd Documents # Move into Documents folder
cd .. # Move up one level
cd ~ # Move to home directory (macOS/Linux)
cd / # Move to root directory
cd Projects/my-website # Navigate to nested folder
Tab Completion Press Tab to auto-complete folder/file names — this saves tons of time!
File and Folder Management
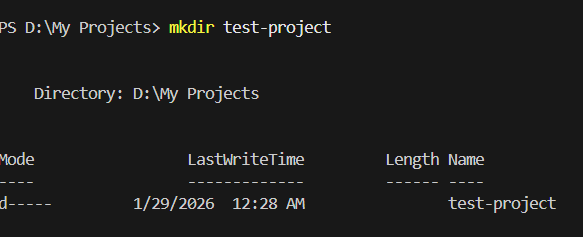
mkdir (Make Directory) Create a new folder:
touch (Create File) – macOS/Linux Create a new empty file:
bash
touch index.html
touch styles.css script.js
Windows equivalent:
bash
echo. > index.html
# or
type nul > index.html
rm (Remove) – macOS/Linux or del – Windows Delete files:
bash
rm oldfile.txt              # macOS/Linux
del oldfile.txt             # Windows

rm -r folder-name          # Remove folder and contents (macOS/Linux)
rmdir /s folder-name       # Remove folder and contents (Windows)
cp (Copy) – macOS/Linux or copy – Windows Copy files:
bash
cp source.txt destination.txt       # macOS/Linux
copy source.txt destination.txt     # Windows
mv (Move/Rename) – macOS/Linux or move – Windows Move or rename files:
bash
mv oldname.txt newname.txt          # Rename
mv file.txt Documents/      # Move to folder
Useful Commands
clear – macOS/Linux or cls – Windows Clear the terminal screen:
bash
clear    # macOS/Linux
cls      # Windows
code . Open the current folder in VS Code:
bash
code .echo Print text to terminal:
bash
echo "Hello, Terminal!"Terminal Tips
1. Command History
- Press
Up Arrowto cycle through previous commands - Press
Down Arrowto go forward - Saves time by reusing commands
2. Cancel Command
- Press
Ctrl+Cto cancel a running command - Useful when something gets stuck
3. Copy and Paste
- Windows:
Ctrl+Cto copy,Ctrl+Vto paste (or right-click) - macOS:
Cmd+Cto copy,Cmd+Vto paste
4. Auto-complete
- Press
Tabto auto-complete file/folder names - Press
Tabtwice to see all options
5. Clear Terminal
clear(macOS/Linux) orcls(Windows)- Or
Ctrl+Lin most terminals
Please refer to the next session to create the first project.